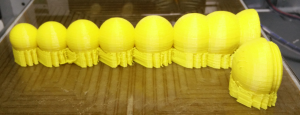
Now let’s build the first ESP8266 vibrator. I use the reliable design from this blog post and the new BI2 board. The new BI2 board can be controlled from any smart phone or computer.
As the BI2 board is round there is no need to build a case for the PCB and the LiPo. The easist way is to glue the battery directly on the ESP8266. Connect the battery and one or more vibration motors with the BI2 board.
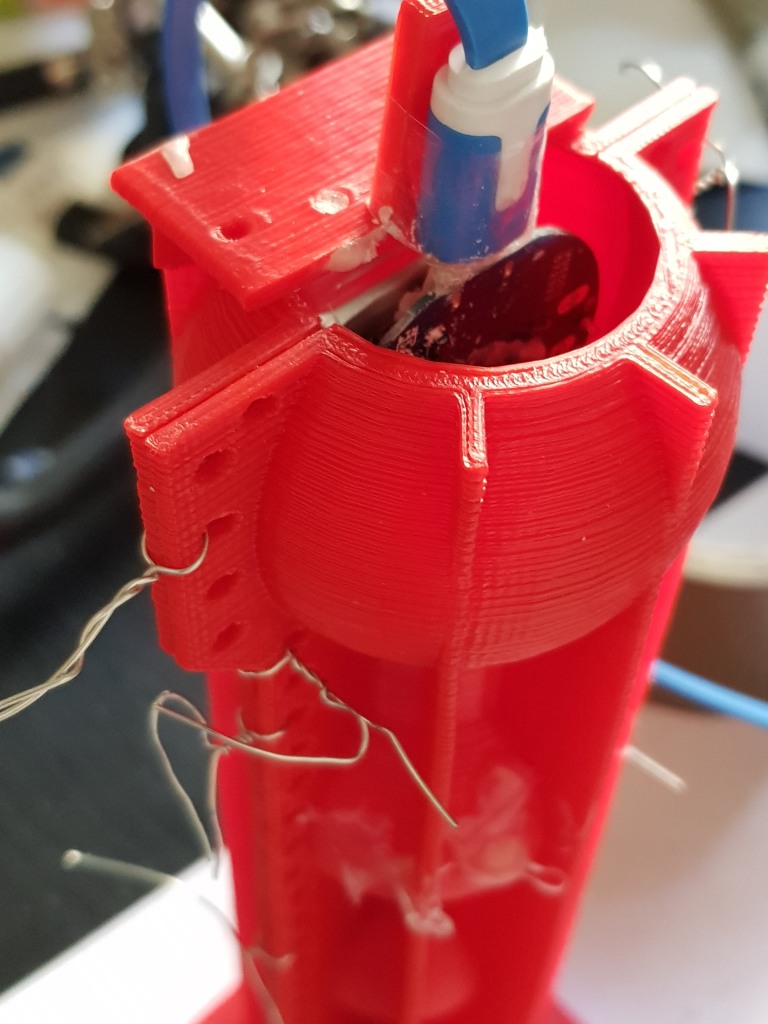
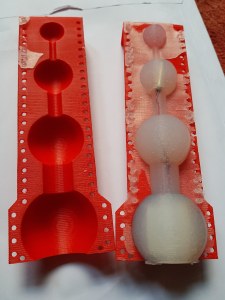
The form consists of two parts which are fastened together with tinker wire. Before you have to insert the board with the vibration motor(s) and the battery. Therefore I used a handle. The handle could be put on top of the form. Then fix a USB connector to the handle. Plug in the BI2 board. Fasten the second half of the form.
Very important: The USB micro connector on the board must be protected from the silicone. When silicone flow between USB plug and connector it will be impossible to pull out the plug. I use wax to seal the USB micro connector. Read more here.
Now pour in the silicone, wait for some hours. And open softely the form.
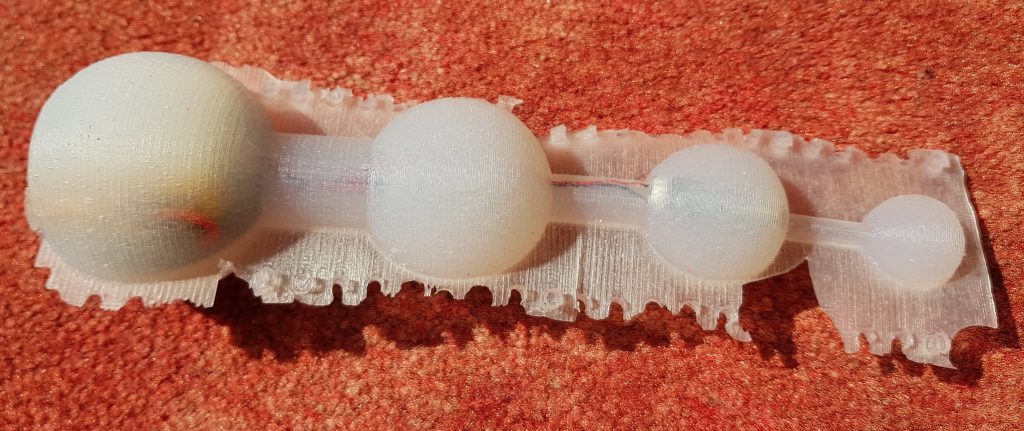
Remove the overhanging silicone.
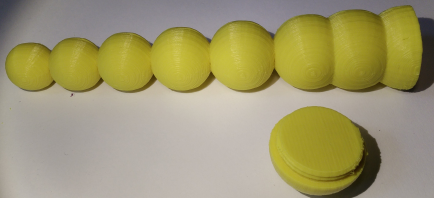
Here ist the Link to Tinkercad where you can edit the form and download STL files for your 3D printer: Download from Tinkercad: form, handle. Download ready to print zipped STL files.
Now build YOUR personal sex toy. Here you find the code for the ESP8266 as well as an IOT server application for quantifying your sex and remote control.


