
Constructing a BI case for 3d printing
The encasement consists of 3 different parts. The encasement, the cavity for the board and a kind of cap. All encasements were constructed with Tinkercad.
- Form 1: The encasements itself – make a great design!
- Form 2: The inner part of the case must house the BI board, battery and vibration motor. The two rails will hold the board and the motor can be put in the tube. There is no fastening for the battery necessary. The USB plug must be accessible for battery charging. The on/on switch must be accessible, too. And the ISP header should be accessible for uploading new programs (if this is intended). Use the “hole” feature of Tinkercad and insert the form in the encasement (1).Use the “hole” feature of Tinkercad and insert the form in the encasement (form 1). View in Tinkercad.

- Form 3: The cap / fastener is needed to access the USB plug, the switch and the ISP interface. It is the most tricky part of all. All examples are work in progress.
Examples
BI1 with cap fastened by M3 screws (“the red one”)

You have to design form 1 and 2 as described above.
Instructions for the construction of Form 3:
Arrange the cap and the encasement: they should fit perfectly. Apply “hole” feature for the screws and insert them at the bottom. (The threads were made with the MS screw generator.) Dublicate both screws (don’t use CTRL+C and CTRL+V, but dublicate from the menu). Select one pair of screws (as hole) together with the cap and move them aside. Group cap and the pair of screws. Group encasement and the other pair of screws. You will find some artifacts in the holes of the cap – designed for the screwdriver. Place a cone form (as hole) in each cap hole eg. approx 5x5x5mm for the M3 screw head. Group the cones with the cap.
Download here
Tinkercad
Status: works
BI1 (the first encasement)


Status: work in progress – problems: cap doesn´t stay close, USB plug cut-out not accurate
Download
BI1 round with screw cap

B1 round with M10 screw cap

status: work in progress – cap doesn’t fit to the encasement
Mouse
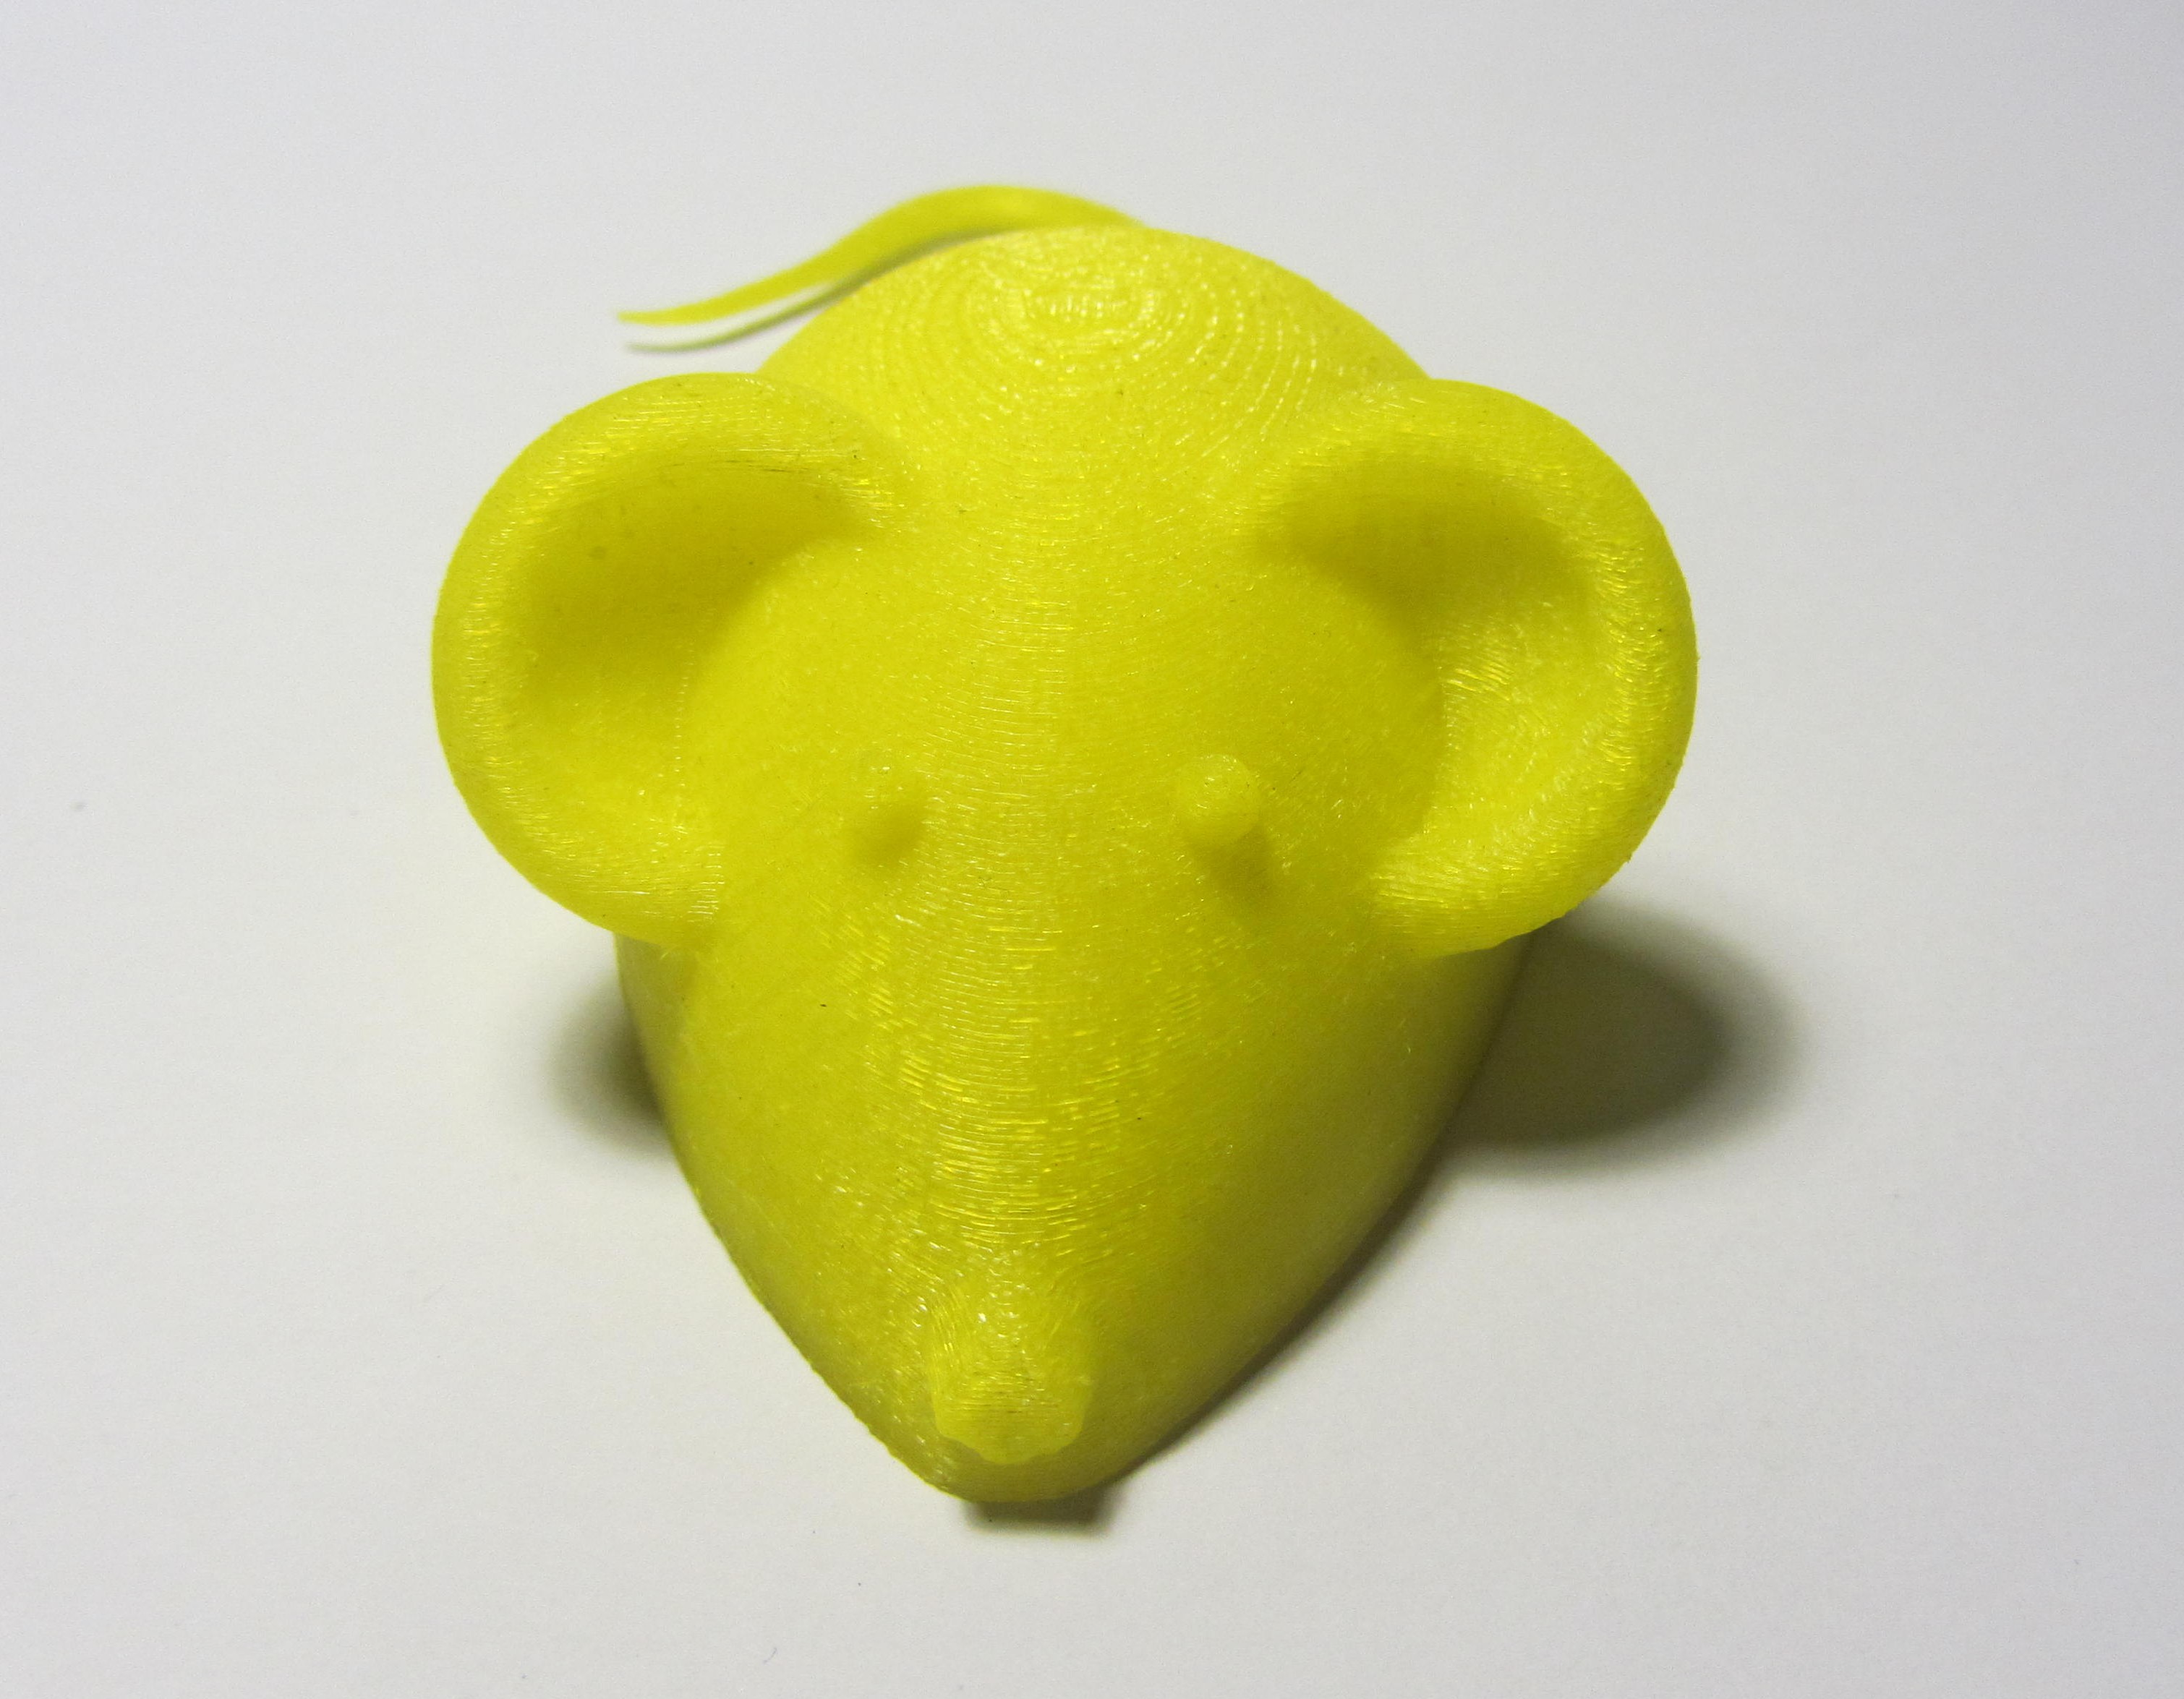
3d printed mouse (remixed from https://www.thingiverse.com/thing:61909)
Edit in Tinkercad
