 So far we have used vibration motors for our sex toys. Vibration motors are cheap, powerful, easy to control and robust actuators. That’s why they are part of most sex toys. But what about moving or touching objects. Obviously we need some mechanics, maybe joints and gears? Or is there a simple option? A skeleton?
I realized the idea for using some type of skeleton for moving a dildo when I saw the video of a naked Pleo – one of the best artificial life forms ever.

On www.thingiverse.com you will find more inspiration for using a skeleton to move something. The design is very simple.
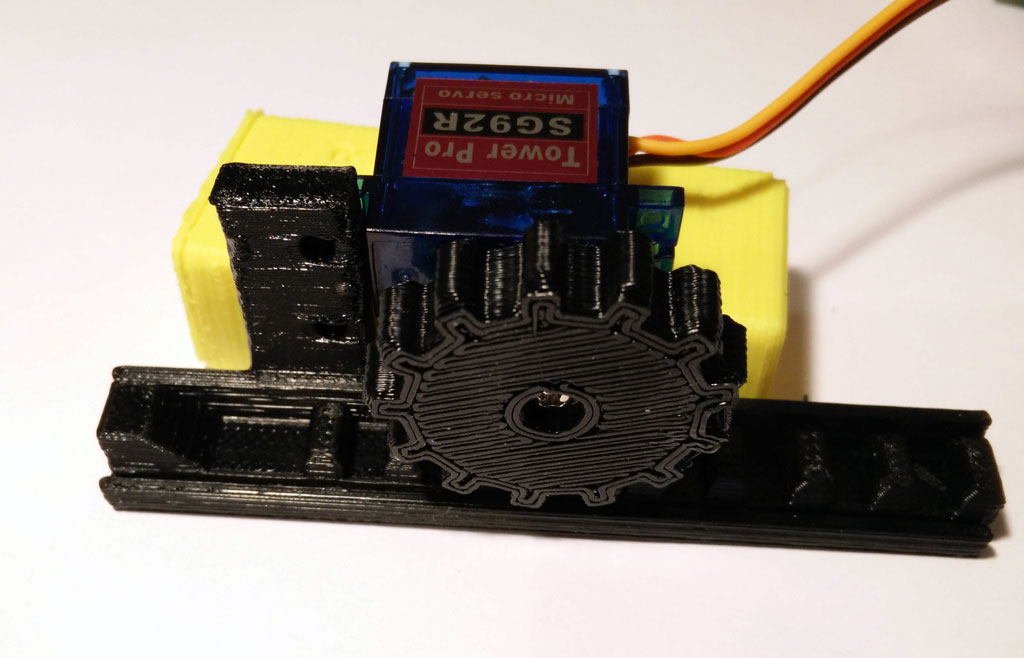
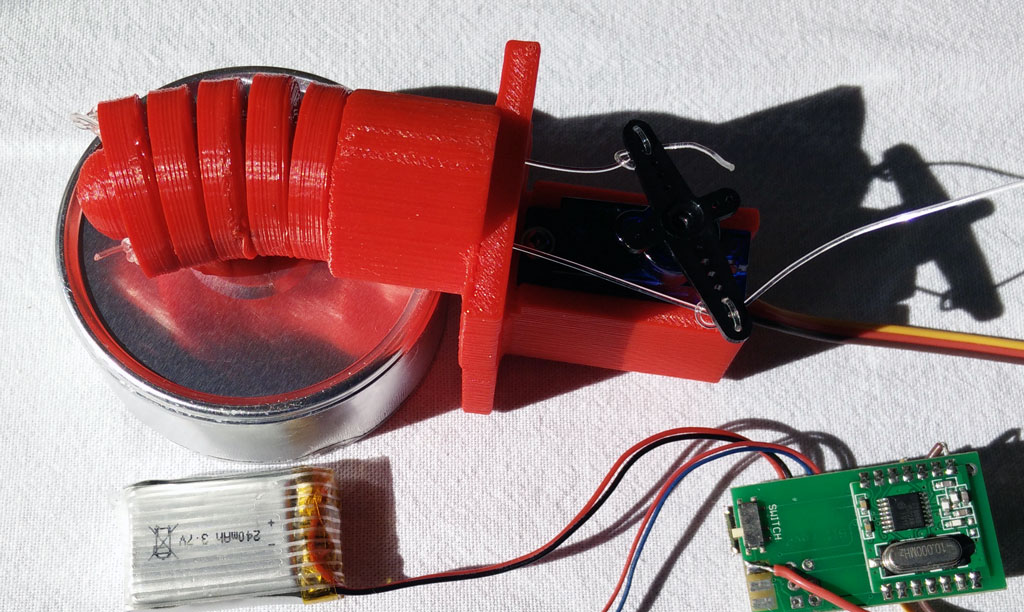
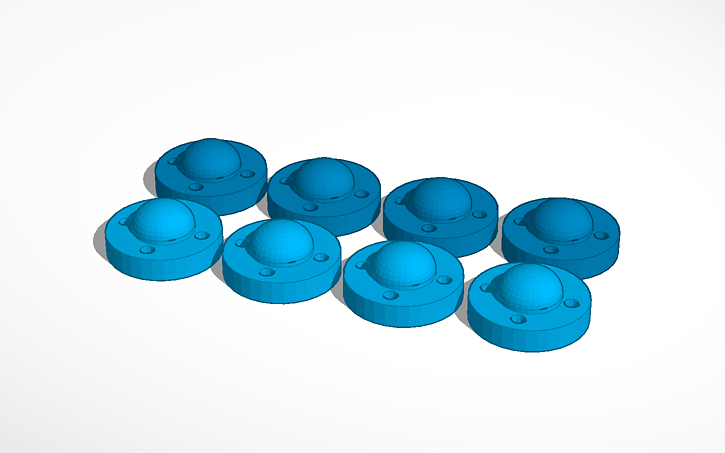
The skeleton is composed of a number of vortexes. The holes are for connecting all vortexes and a servo with a nylon wire or similar.
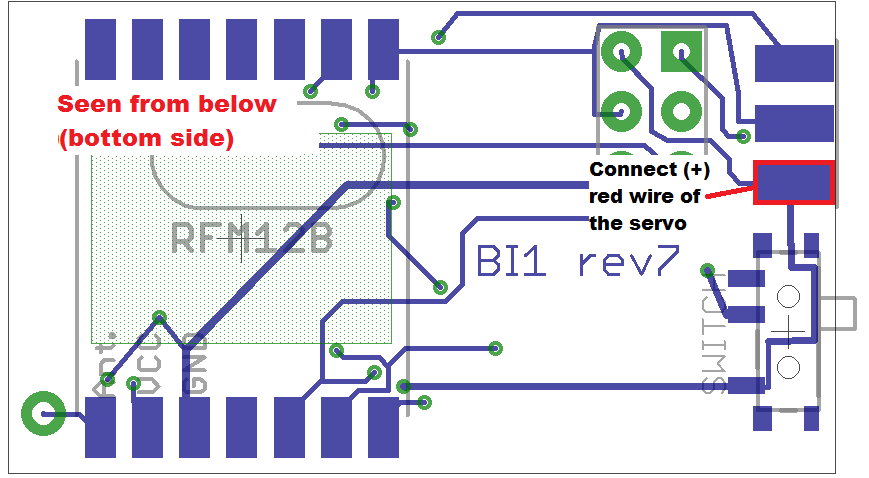
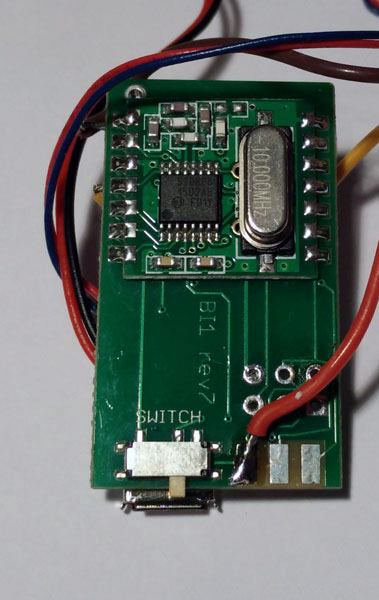
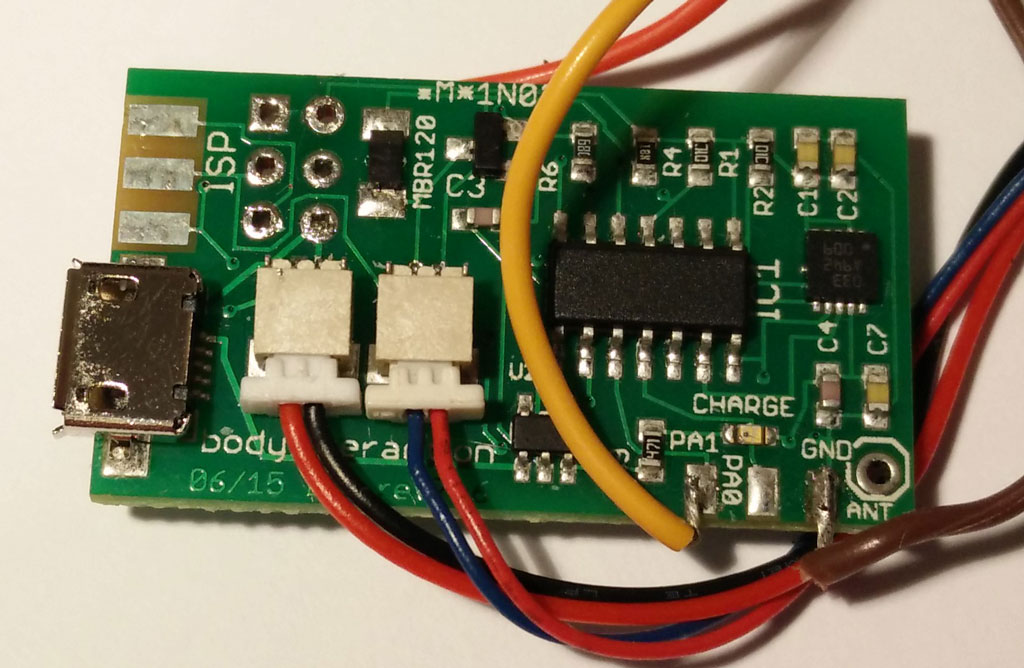
In addition we need a handle where the vortexes are fastened to. There is also space for a servo. Then use a nylon wire to connect the vortexes with the servo. You can drive the servo with a Arduino development board or you use the body interaction development board as described here.

The servo should turn only 15-30 degree or so. If you use the body interaction development board please copy the following code and upload the code to the board.
#include <TinyServo.h>
// servo control with the body interaction development board using the TinyServo library
// -- adaption of the demo script by
// tylernt@gmail.com's ATTiny Hardware Timer Assisted Servo Library v1.0 20-Nov-13
// http://forum.arduino.cc/index.php?action=dlattach;topic=198337.0;attach=71790
const byte SERVOS = 1; // number of servos is 1
const byte servoPin[SERVOS] = { 7 }; // servo is connected to PA1 which is pin 7
#define SERVO 0 // our servo is given the name &quot;SERVO&quot;
void setup() {
setupServos();
}
void loop() {
moveServo(SERVO, 0); // move servo to 0°
delay(1000);
moveServo(SERVO, 30); // move servo to 30°
delay(2000);
}
In addition we need a wrapping for the skeleton. This can be made using these two forms (download STL files).
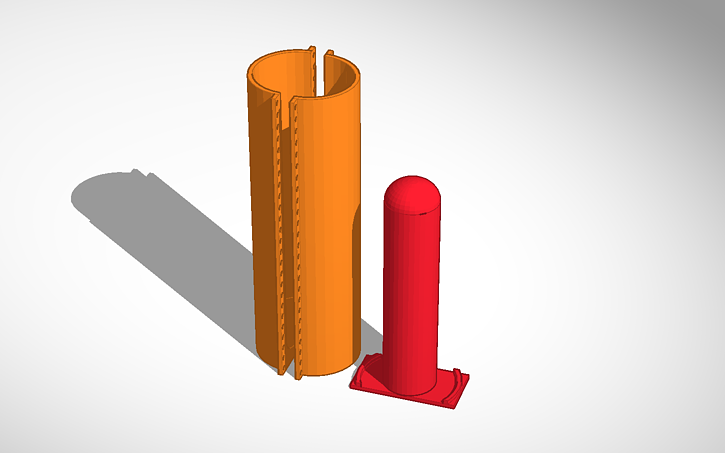
Use flexible silicone and poor it in the form. The thickness of the wrapping is a bit too large – it rather hinders the skeleton in its movements. But it works!

Now we can put everything together.
Download on Thingiverse: http://www.thingiverse.com/thing:1736282
Tinker with Tinkercad!
Form: https://tinkercad.com/things/e8yscABu9Al
Skeleton: https://tinkercad.com/things/dfbMQsE4Mtl
Servo handle: https://tinkercad.com/things/5EHHrqM5sqC
YouTube: https://youtu.be/F1b8bGbuSHw