Ramps

In this tutorial the continuous change of the vibration motor speed is regarded. Typical vibrator pattern are ramps. They start at a given value. Then the motor speed is continuously changed. The values could be increasing or decreasing.
In our example we have two ramps.
- Increasing ramp: It starts with the minimal motor speed (40). The vibration is slowly increased up to maximal speed (255).
- Decreasing ramp: It starts with maximal motor speed and decreases very fast until minimal motor speed is reached.

We will achieve this by using the for statement.
for (int i=minimal_motorspeed; i <=255; i++) {
  analogWrite(motor, i);
  delay(10); // wait for 1/100 second
}
The code after the for statement will be repeated so long a condition remains true.
- int i =minimal_motorspeed: a new local variable i is introduced and given the value of minimal_motorspeed (40)
- i <= 255: this is the condition – until the variable is below or equal 255 the code will be executed
- i++: each time the code is executed the variable i will be increased by 1
The values of i are 40, 41, 42, 43, … , 255. We use the variable i to change the motor speed. The speed of the motor will be changed at each iteration. So the motor speed will be set to 40 (which is the minimal speed), 41, 42, …, 255 using the following statement:
analogWrite(motor, i);
The delay statement changes the pitch of the ramp. If the delay time is high the pitch will be low:
delay(10);
The following code will realize the function visualized above. You can change the pitch by adjusting the delay time.
// www.bodyinteraction.com tutorial ramp
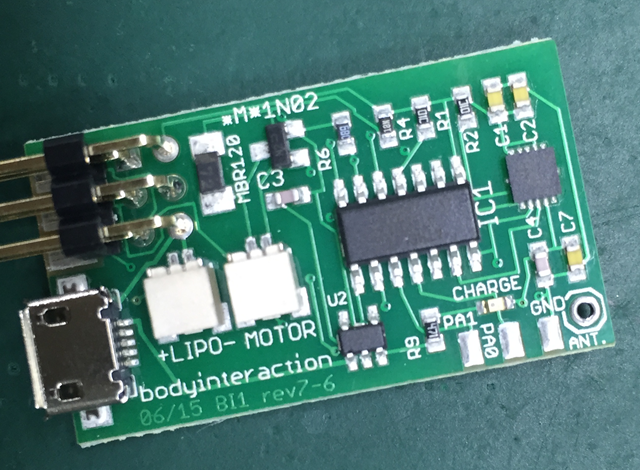
int motor=3;
int minimal_motorspeed=40;
void setup() {
pinMode(motor, OUTPUT);
}
void loop() {
for (int i=minimal_motorspeed; i <=255; i++) {
analogWrite(motor, i);
delay(10);
}
for (int i=255; i > minimal_motorspeed; i--) {
analogWrite(motor, i);
delay(2);
}
analogWrite(motor, 0); //motor off
delay(1000);
}
Copy the code to Arduino and try out. In tutorial 2 it is explained how to upload the code to the body interaction 1.
Next tutorial: Classical vibration pattern – the sinus curve
Go back to tutorial acceleration
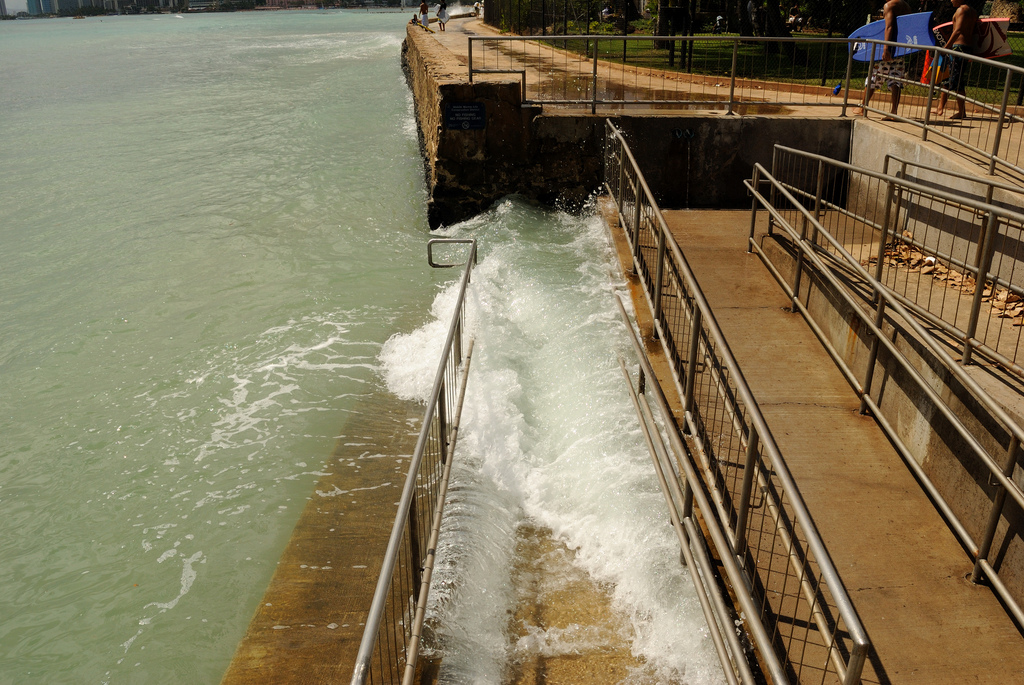
Ramp to the beach by Danniel Ramirez, CC BY 2.0


![IMG_20150901_211915[2]](https://bodyinteraction.com/wp-content/uploads/2015/09/img_20150901_2120102.jpg)
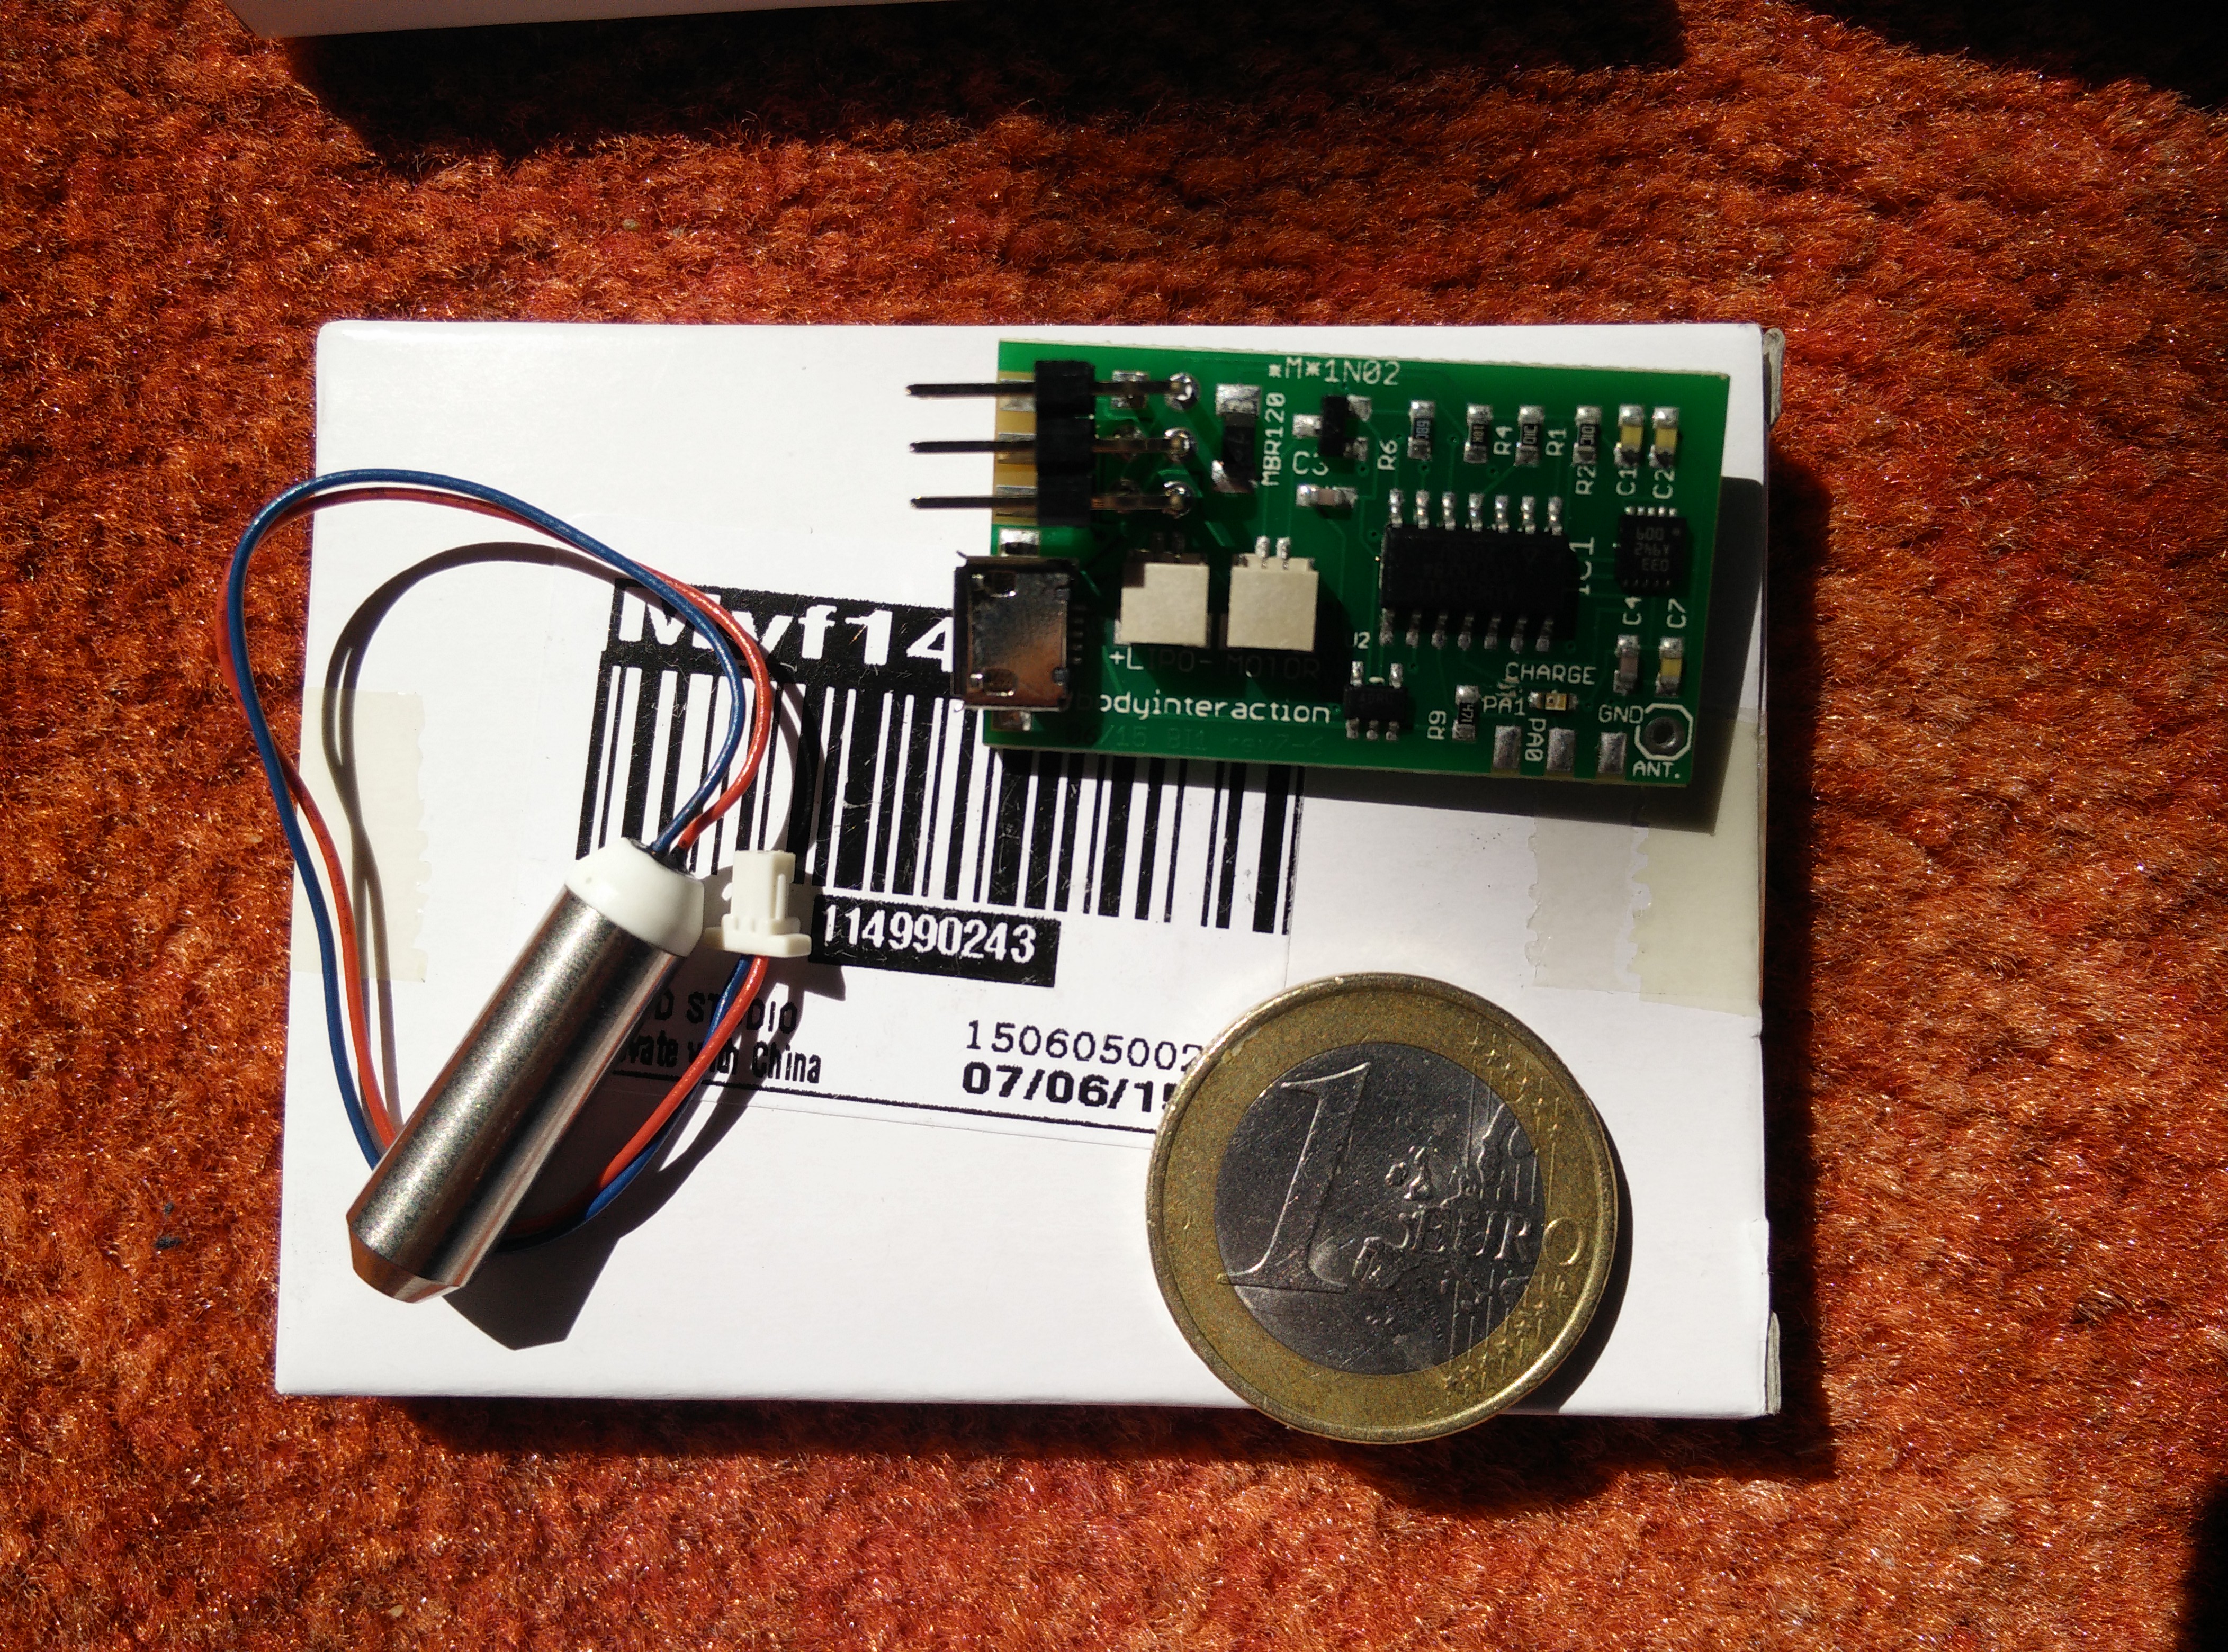
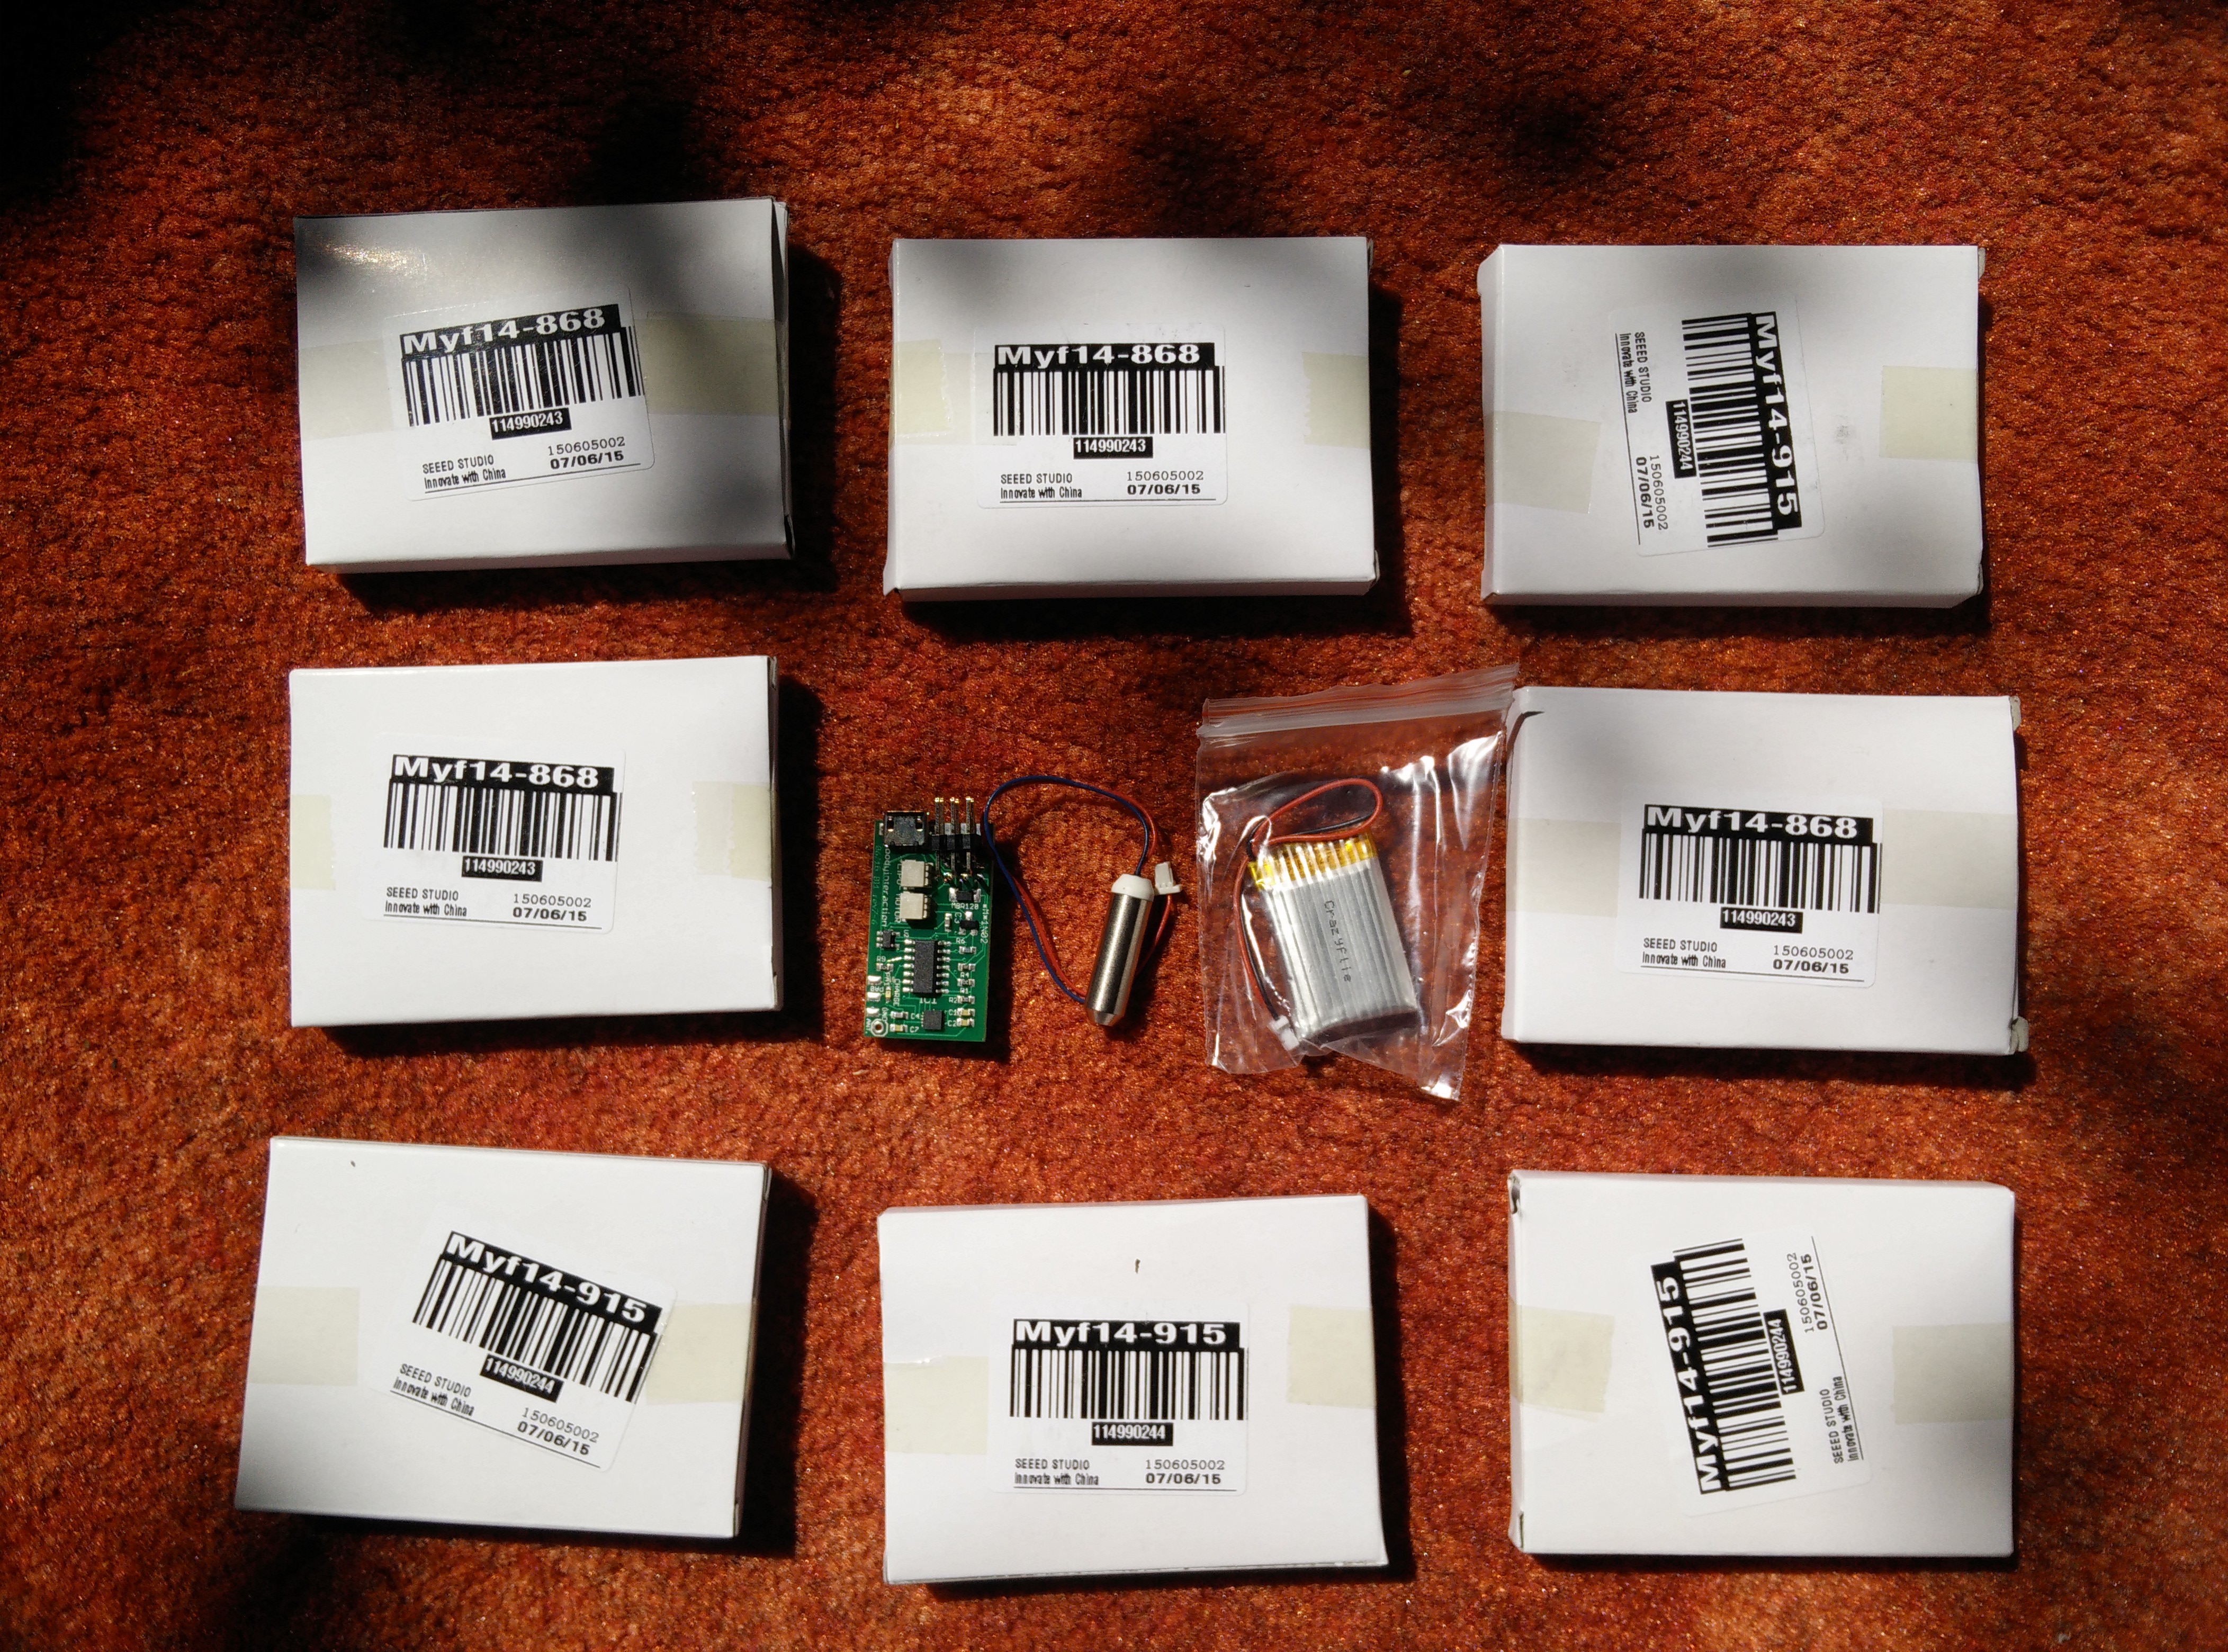
![IMG_20150901_212010[2]](https://bodyinteraction.com/wp-content/uploads/2015/09/img_20150901_2120102.jpg?w=169&h=300) All you need for assembly is the body interaction motion controlled vibrator development board and two M3 screws (about 6mm long).
All you need for assembly is the body interaction motion controlled vibrator development board and two M3 screws (about 6mm long).